Posted on
27 January 2015 |
Updated on
18 February 2021 |
Added in
How To
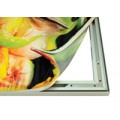
This guide will provide you with the knowledge required to affix your fabric graphic to an assembled TexFrame.
While there are differences between the profiles of our extrusions the method used to insert the printed fabric graphic is extremely similar for all of them, so we've grouped them to make things easier (the frame used in this case was a 3D TexFrame).
Inserting a fabric graphic into extrusion is fairly straightforward, however like most things, it does get easier with experience. If at any time you find that you're not happy with your progress/finished product there's no harm in removing the graphic from the frame and starting again. Even a large, complex frame with straights & curves should take roughly 30mins for a single person to install. So it's best to take the time, if necessary, to get it looking right rather than to go for the quick install.
|
Step 1:
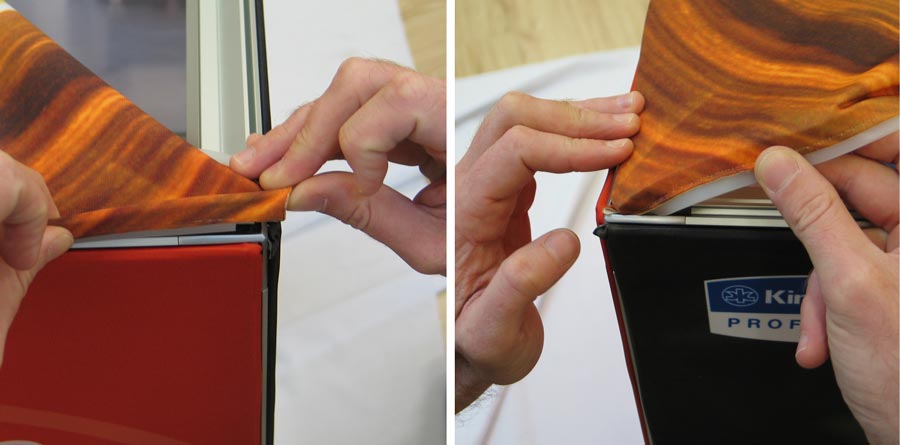
The very first step is to insert the graphic's corners/silicon strip into the corners of the extrusion.
|
 |
|
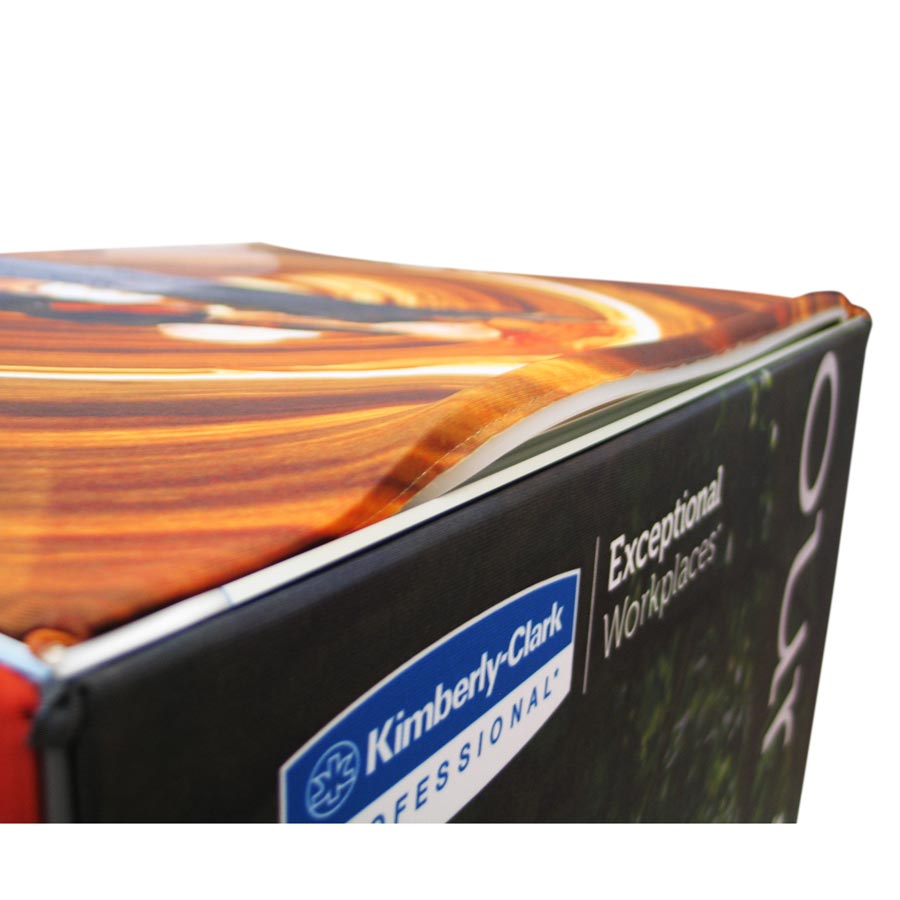
Step 2:
Repeat Step 1 for all corners. Insert the silicon strip roughly 50-100mm away from the corner.
|
 |
|
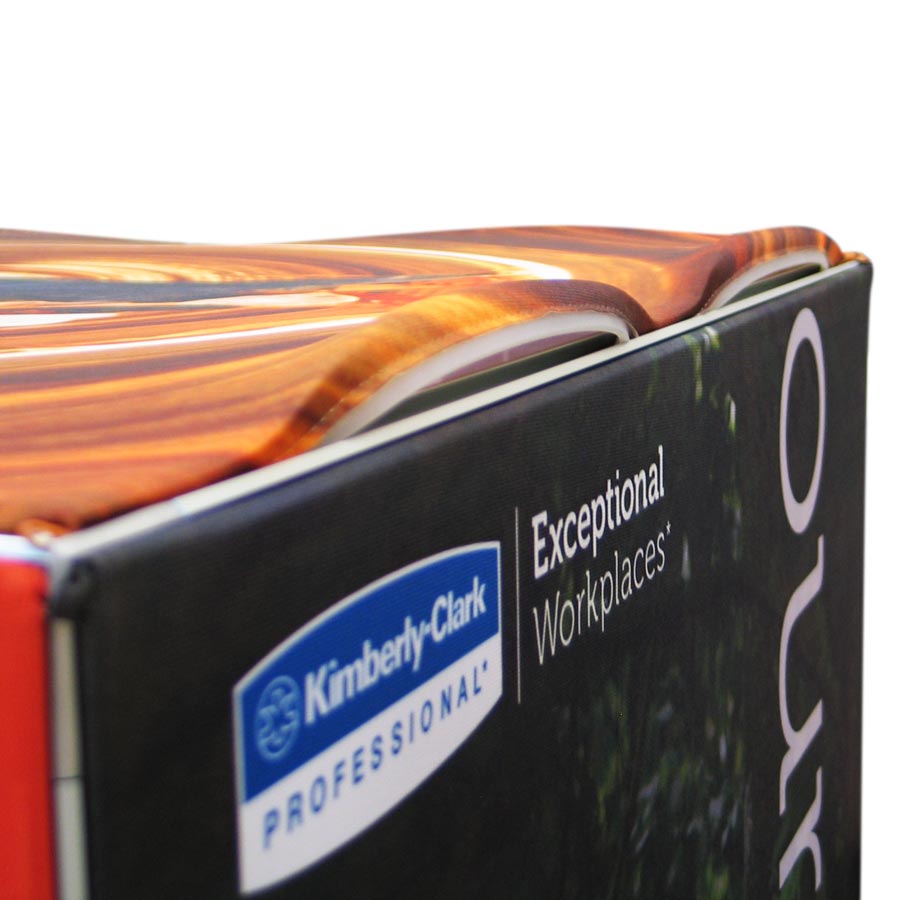
Step 3:
Take the middle of the silicon length and insert it into the extrusion.
Do this for 4 sides.
|
 |
|
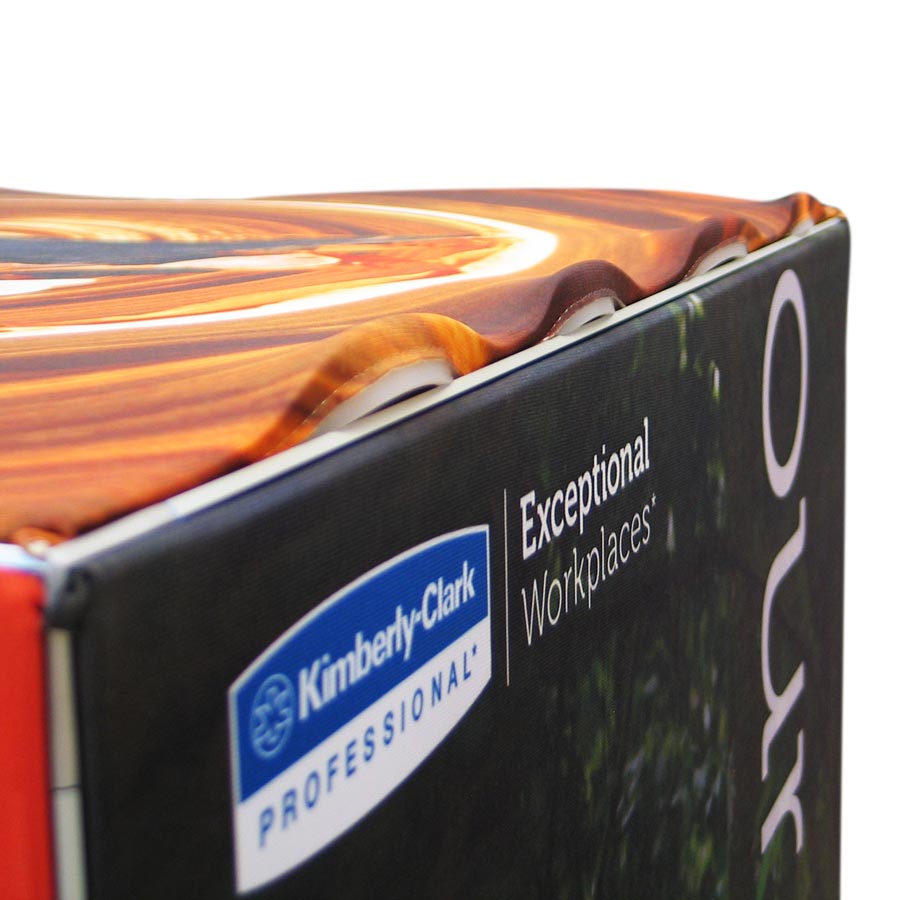
Step 4:
Now repeat Step 3 and insert the middle of the silicon lengths that remain.
Note: this step isn't super important for smaller frames (generally anything under 1000mm in length). However for larger frames this will ensure that the silicon is stretched evenly along the extrusion and that tension is applied to the graphic as evenly as possible. Depending on the size of your frame you may need to repeat this step several times!
|
 |
|
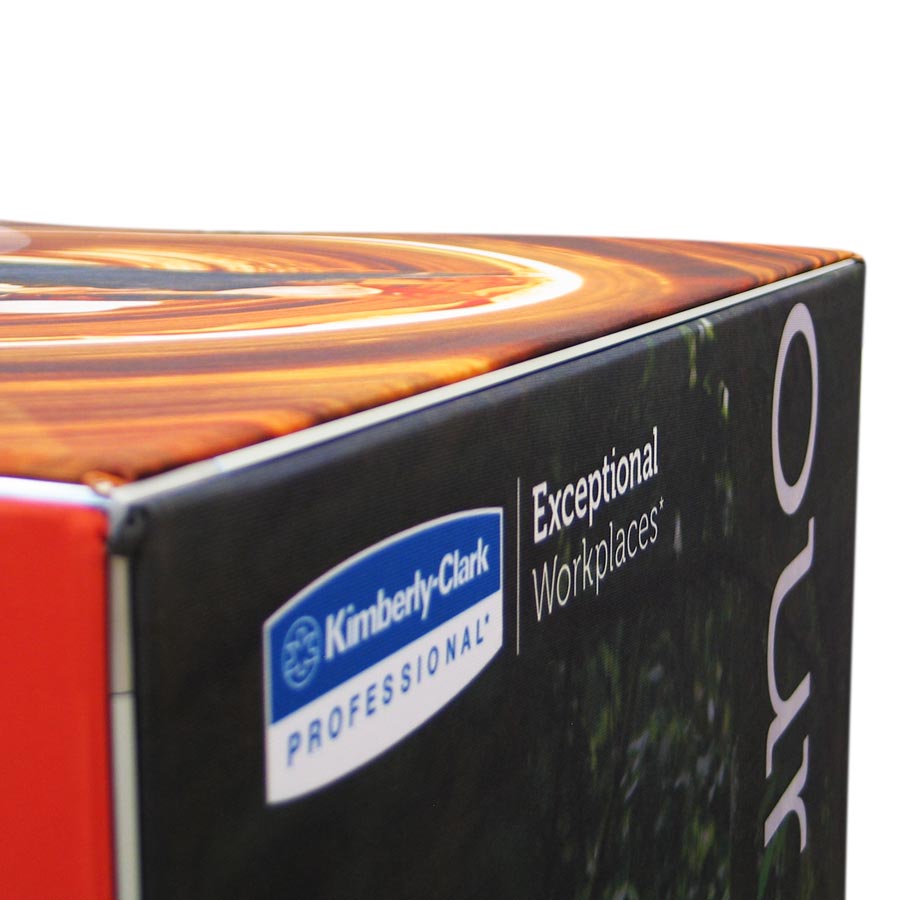
Step 5:
Insert the remaining sections into the extrusion.
For a neat finish gently run your fingers along the edge of the silicon/extrusion to feel for any sections of silicon that are raised so they can be pushed in.
|
 |
|
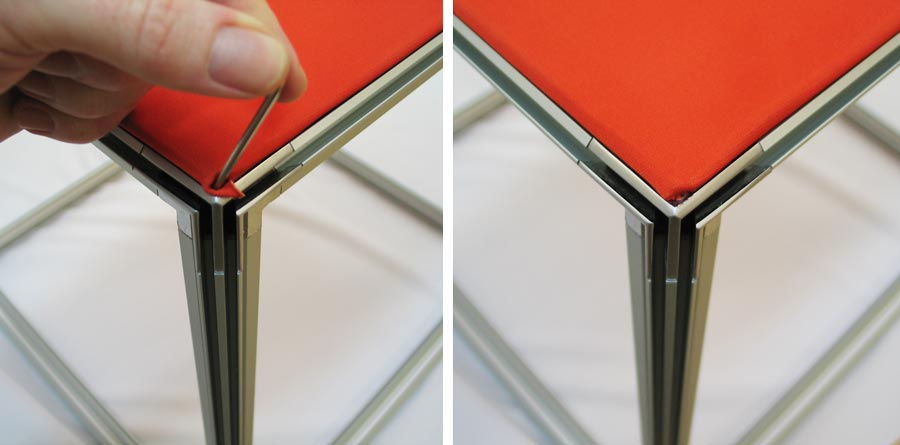
Step 6:
To tidy up any corners which may be poking out, gently use the supplied allen key to ease the corner under (towards the silicon strip).
|
 |
|
Removing The Graphic:
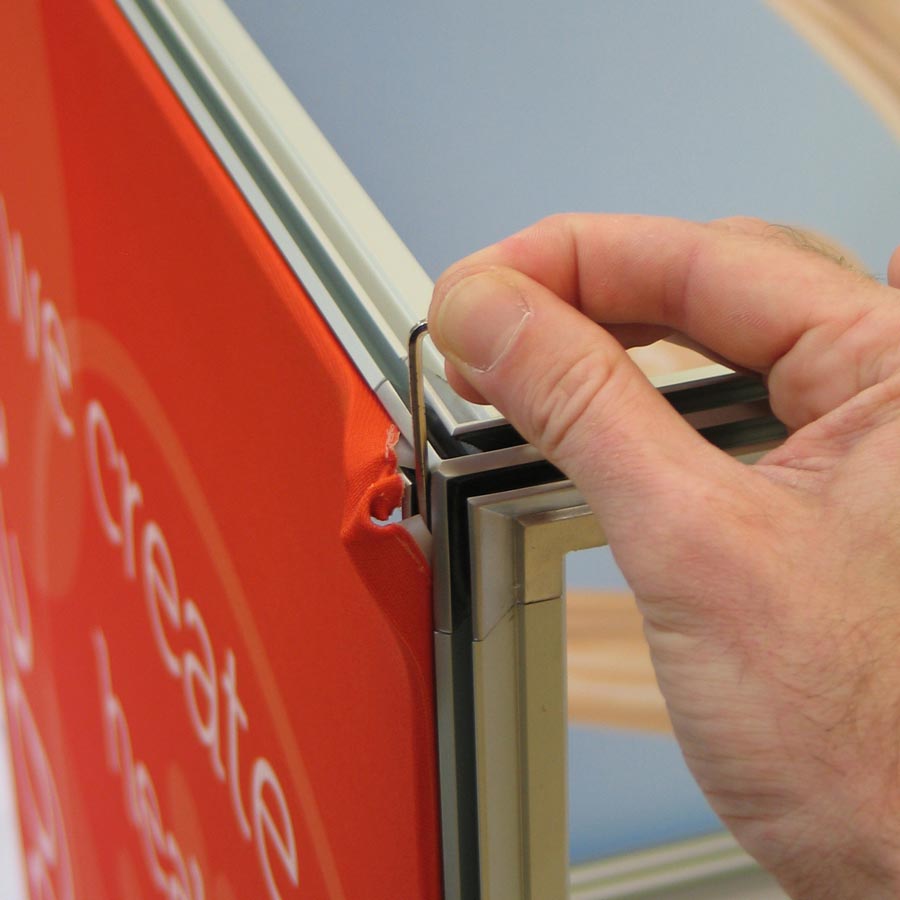
This is a little tip coming from our experience, this can help with all extrusion however we find it much more useful (almost necessary) for the easy removal of frabric from our 3D TexFrame extrusion.
Gently insert the allen key, at the corner of the frame, at a slight angle. The goal is to get it under the silicon strip. Gently pry the silicon from the extrusion's channel.
It's also very important that when you remove your graphic you don't pull at the fabric to remove it. Rather try to get a good hold of the silicon strip and use that to remove the graphic.
Pulling at the fabric alone could damage/stretch the fabric, the sewing that attaches the silicon to the fabric or (at the very least) make the fabric dirty.
|
 |
 Posted by
William Qian
William Qian is a Specialist in Exhibition Graphics & Displays, and founder of ADI Displays with a vision in taking creativity through to visual reality.
From humble beginnings, he adopted the latest digital printing technology of its time, producing large format digital printing used for exhibition graphics and portable display systems.
With his love of the creative visual industry, he has established BANNERAD™ Range of Products to accommodate the growing needs of portable display solutions which have been successfully distributed in the sign and display industries.
“It is our focus and innovation that allows our continued success in meeting our customers’ display needs concerning application, preference and budget.”
Related Articles
Posted on 22 Jan 2015 |
Added in
How To |

This guide will provide you with the knowledge required to assemble our TexFrame 3D Cubes - in this instance we'll be using a 700mm x 700mm x 700mm cube to demonstrate this.
When you purchase a TexFrame system from us all that you need will be supplied! For each cube display there will be:
12 x 3D extrusion lengths (cut to the size you require)
8 x 3D extrusion corners
1 x alen key
Step 1:
To begin; lay out one side of the cube as we have done.
It's worth noting that the corners and t..
Posted on 08 Feb 2015 |
Added in
How To |

This guide will provide you with the knowledge required to assemble our Double Sided (D46) TexFrames - in this instance we'll be using a custom built frame to demonstrate this.
When you purchase a TexFrame system from us all that you need will be supplied! For this display there will be:
2 x 2000mm straight extrusion lengths (these are for the sides of the frame)
4 x curved extrusion lengths with a radius of 1500mm (these are for the top & bottom of the frame; 2 lengths will have holes in them indicating that these lengths will be used for the bottom of the frame ..
In the spotlight this month are our custom-built TexFrame fabric lightboxes, a testament to the innovative spirit and technical expertise that define ADI Displays.
Posted on 22 Dec 2022 |
As the year draws to a close, we at ADI Displays would like to extend our heartfelt gratitude for your continued support and partnership throughout 2023. It has been a year filled with challenges and triumphs, and it's our relationships with customers and partners like you that make our journey worthwhile.
Holiday Closure Notice: Please be advised that ADI Displays will observe a holiday closure from 18/12/2023 to 22/1/2023. During this time, our offices will be closed, and our team will be taking a well-deserved break to spend time with their families and recharge for the upcoming year.


 Posted by

